How Tattoos Work
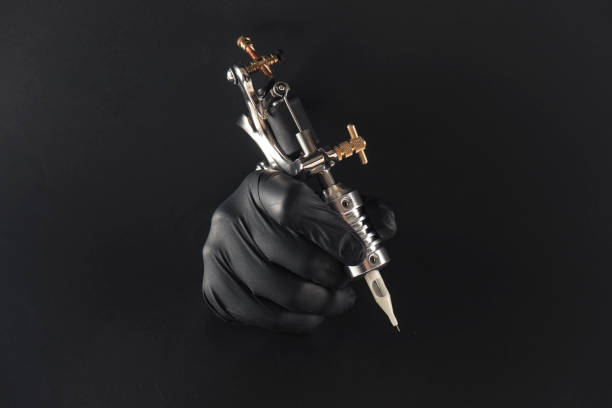
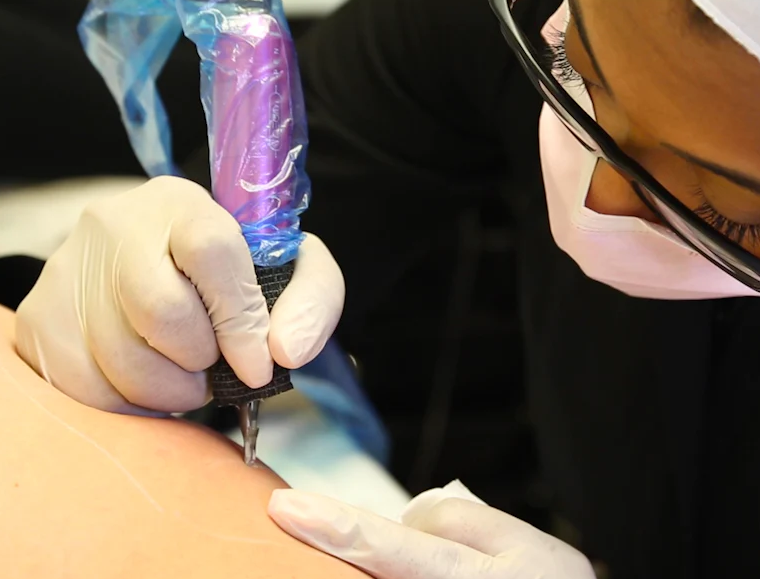
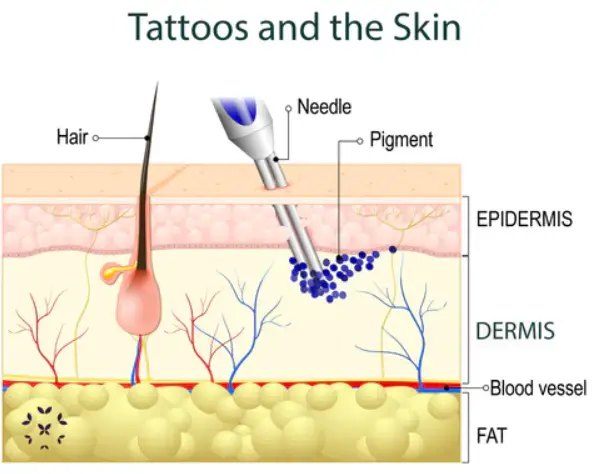
Needles of a tattoo machine punches between 50 and 3,000 times per minute through the epidermis, the outer layer of skin, and drive the ink into the dermis, the deeper layer that’s mottled with nerves and blood vessels.
Every time the needle penetrates, it causes a wound that alerts the body immune system to begin the inflammatory process. That signal sends immune system cells racing to the site of the wound. Special cells called macrophages come to the rescue, eating up the dye in an attempt to “clean up” the inflammation it’s causing. The rest of the dye gets soaked up by skin cells called fibroblasts. The fibroblasts, along with many of the macrophages, stay suspended in the dermis in perpetuity.
Placement of Tattoo Ink
The tattooing process causes damage to the epidermis, epidermal-dermal junction, and the papillary layer (topmost layer) of the dermis. These layers appear homogenized (or in other words, like mush) right after the tattooing process. The ink itself is initially dispersed as fine granules in the upper dermis but aggregate into more concentrated areas at 7-13 days.
Like any injury, the initial response is to stop bleeding, followed by tissue swelling, and the migration of non-resident immune cells into the area. The “automatic response” immune cells are mostly neutrophils, and macrophages later on. They are phagocytic cells that “swallow” debris to clean up the area and then leave via the lymphatics. This is the extent of an immune response unless an allergic reaction occurs or an infection set in. The tissue is then repaired and/or regenerated by fibroblasts. Initially, the tissue formed is known as granulation tissue (think fresh scar, pinkish and soft), which later matures into fibrous tissue (think old scar).
Custom-Blended Pigments
Creating custom-blended pigments for micropigmentation involves a careful process to ensure color accuracy and safety. Here’s a general overview of the steps involved:
First, the technician consults with the client to determine their skin tone, desired outcomes, and any specific requirements (e.g., allergies, previous reactions to pigments).
Based on the consultation, the technician selects base pigments that closely match the client’s natural skin tone and desired color. This can involve pre-mixed pigments or primary colors that will be mixed to achieve the desired shade.
Using sterile tools and containers, the technician carefully mixes the pigments. This process may involve measuring exact quantities of each pigment to achieve the desired hue and ensuring consistency in the mixture.
A small amount of the custom-blended pigment is tested on a small area of the client’s skin to check for allergic reactions or any unexpected color changes. This step is crucial to ensure safety and client satisfaction.
Based on the test results and client feedback, adjustments may be made to the pigment mixture. This could involve adding more of a particular color to achieve the right undertone or adjusting the saturation to match the client’s expectations.
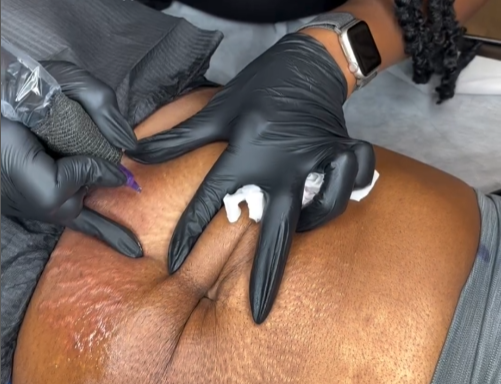
Once the custom-blended pigment is approved by the client, it is used for micropigmentation procedures. The technician uses precise techniques to implant the pigment into the skin at the desired depth, ensuring even distribution and natural-looking results.
It’s important for the technician to document the exact pigment mixture used for future reference and possible touch-up sessions. This ensures consistency in color and quality over time.
Throughout the entire process, strict adherence to hygiene standards, using sterile equipment, and ensuring client comfort are essential. Custom-blended pigments allow for tailored results that complement each client’s unique skin tone and preferences, making micropigmentation a personalized and effective solution for cosmetic enhancements.
Common Tattoo Needles We Use
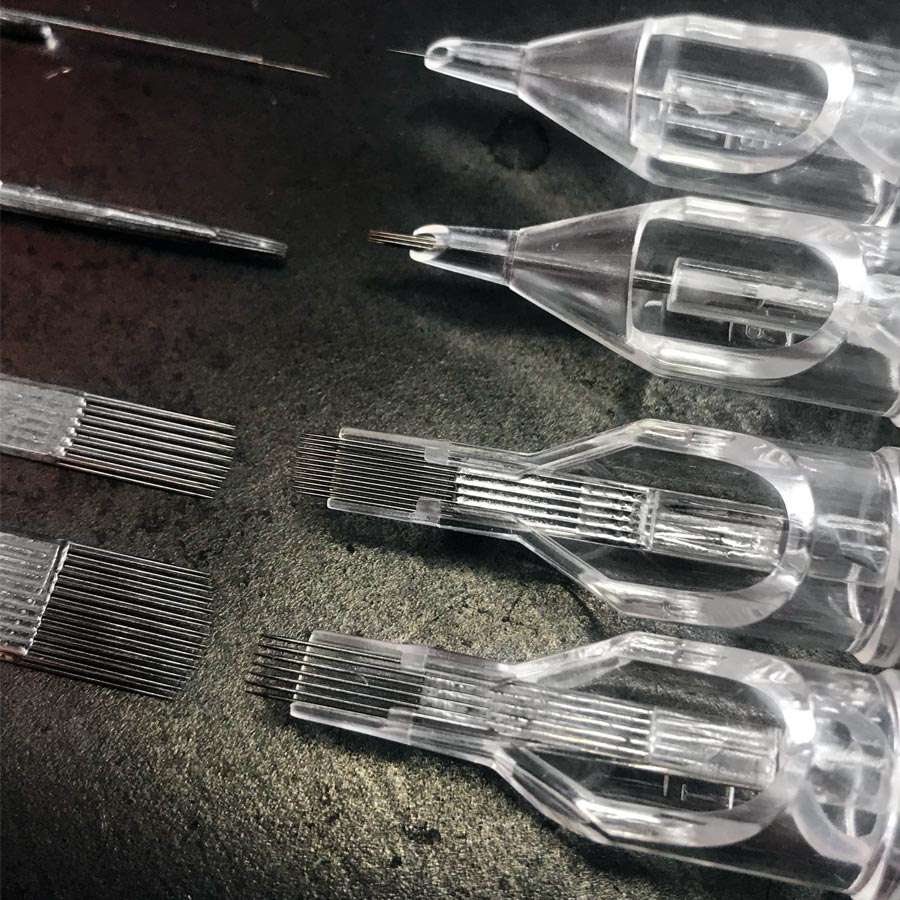

5 Round Shader
Lines, small shading areas, and small detail

9 Round Shader
Shading, thick outlines, and color fill in
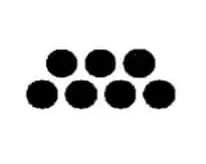
7 Magnum
Lines, fill, and shading

13 Magnum
Color fill and shading
The Healing Process
The healing process for tattoo camouflage is critical for achieving optimal results. Immediately after the procedure, the treated area may appear slightly swollen, red, or sensitive, resembling a mild sunburn. It’s essential to follow the aftercare instructions provided by the technician diligently. Typically, this involves keeping the area clean and dry, applying a specialized healing ointment to promote skin regeneration, and avoiding activities that could irritate the skin, such as swimming or exposure to direct sunlight. Over the next few days, the skin will begin to heal, and the initial intensity of the camouflage may fade as the pigment settles into the dermal layers.
As the healing progresses, the treated area may develop some scabbing or flaking, which is a natural part of the skin’s renewal process. It’s crucial not to pick at or scratch the scabs, as this can affect the final appearance of the camouflage. Instead, gentle care and patience are required to allow the skin to heal fully. It’s common for the full results of tattoo camouflage to become apparent after a few weeks, once the skin has fully regenerated and any initial redness or swelling has subsided. During this time, it’s advisable to attend follow-up appointments as recommended by the technician to assess the healing progress and touch up any areas if necessary, ensuring the tattoo camouflage achieves the desired blend with the surrounding skin tone.
ARE YOU READY TO SPEAK WITH A PROFFESIONAL?
GET STARTED AND SCHEDULE A CONSULTATION WITH OUR PARAMEDICAL TATTOO ARTIST TODAY
